A step-by-step guide on how to build a chatbot
As the field of AI technology advances, AI-powered chatbots are proving to be valuable assets in automating conversations and performing a wide range of tasks. Whether used for personal use or within a business setting, chatbots are increasingly essential tools in streamlining communication and enhancing efficiency.
Interested in creating your own AI chatbot? Follow a step-by-step process that allows you to build your first AI agent without the need to write any code.
The utilization of chatbots is growing rapidly, and with the right tools and guidance, you too can leverage the chatbot's capabilities to improve your own personal or professional endeavors.
Step 1: Configuring the Chatbot
Now that we've chosen Chats GO as our chatbot platform of choice, it's time to start setting up the agent itself. Fortunately, setting up an agent on Chats GO is quite easy.
- To get started, go to chatsgo.app and create an account.
- After registering and logging in, you will be redirected to the administrative panel.
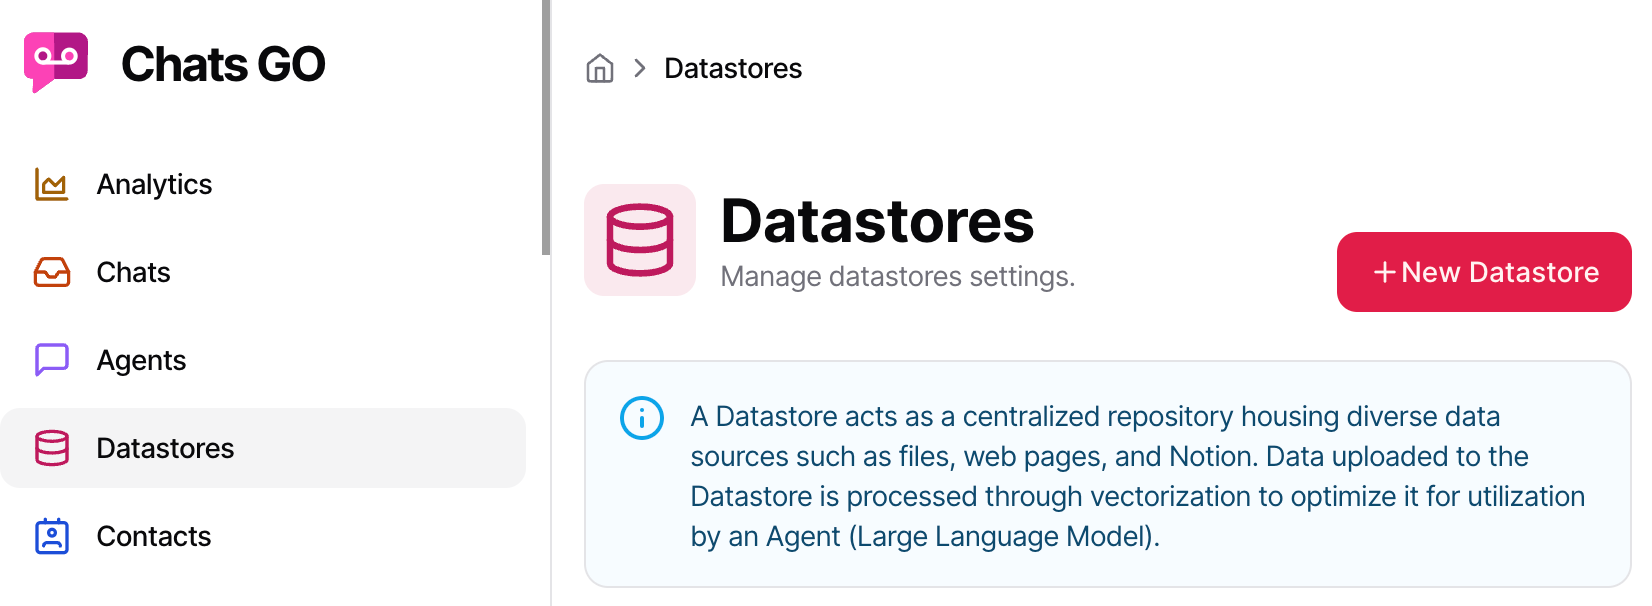
- Datastores page, click on new datastore, when creating a datastore you will be redirected to create the datasource
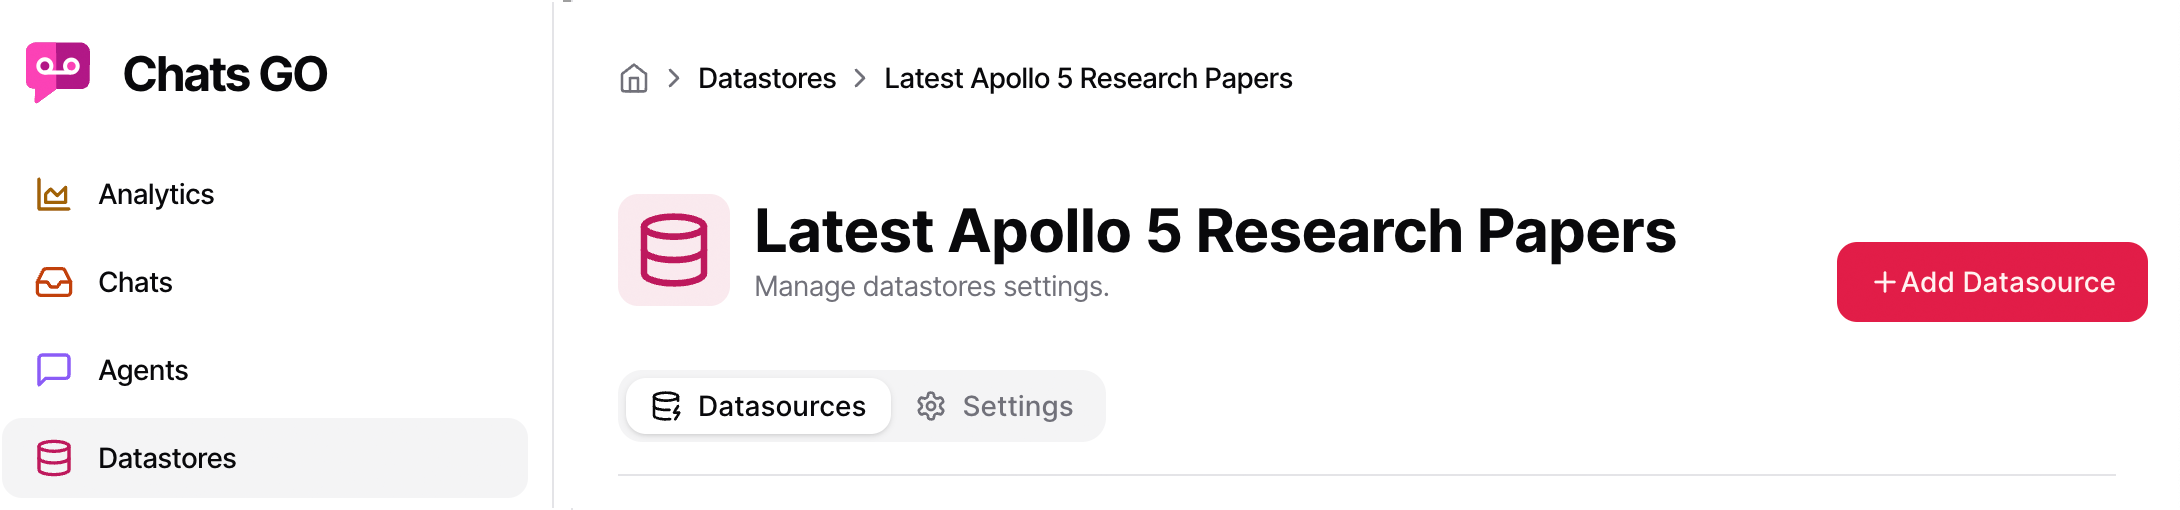
- Click on datasources, add new datasource, you will have support options pdf, doc, text, Q&A, website page depending on your plan. When you autofill data and save your data source, you will be queued to sync.
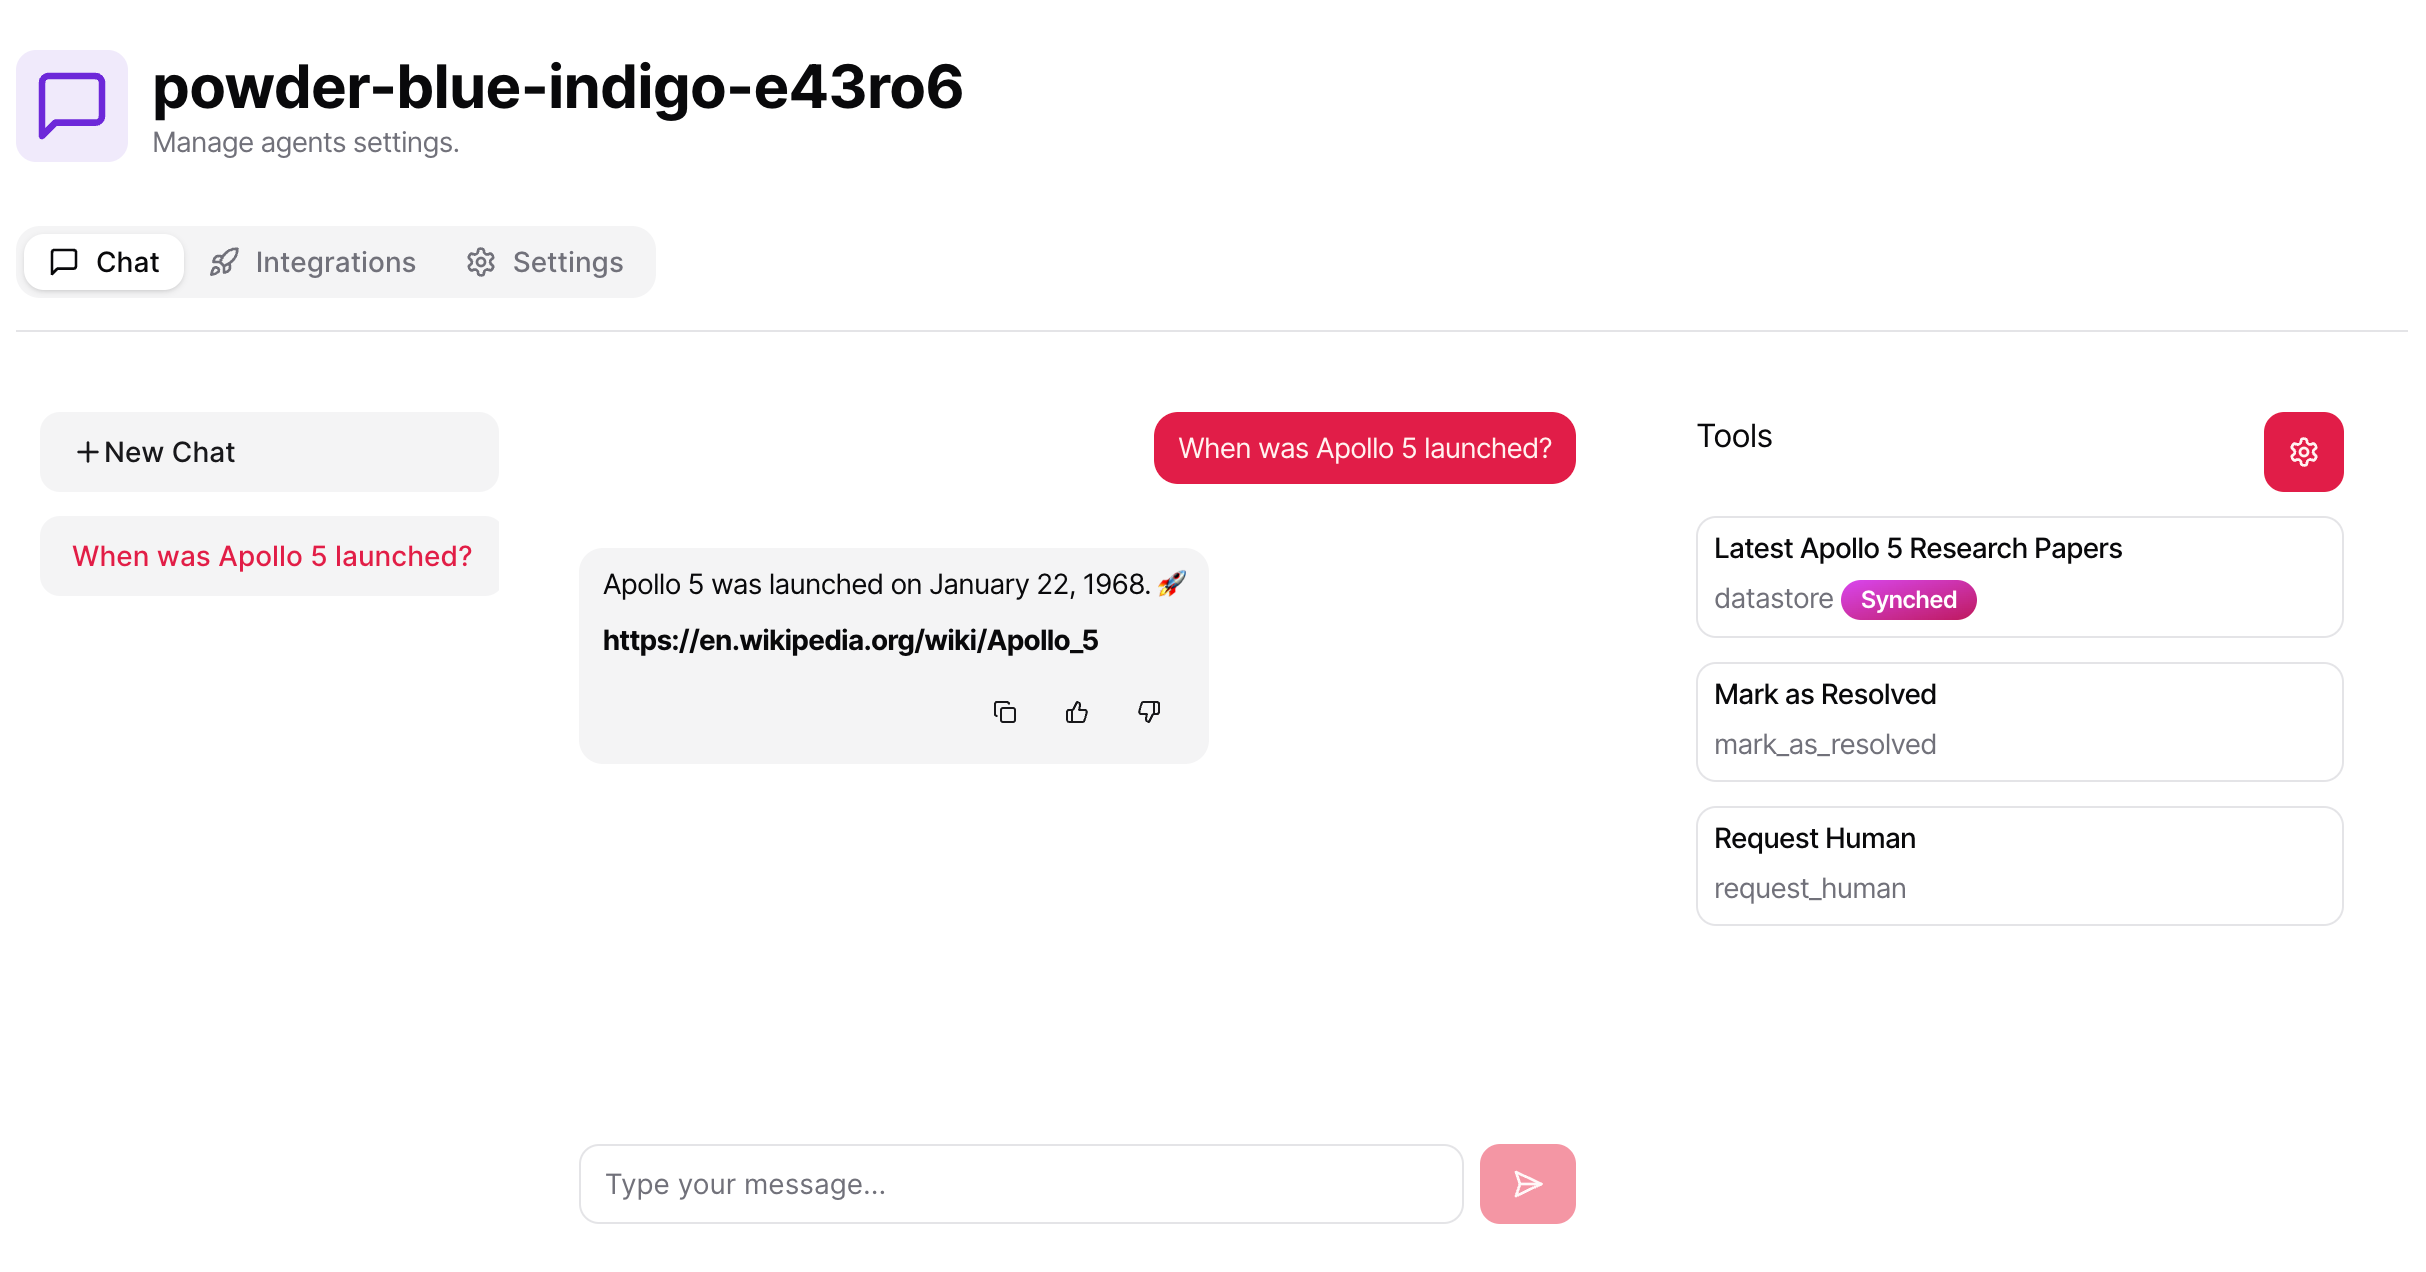
- Click Agent to create your chatbot agent.
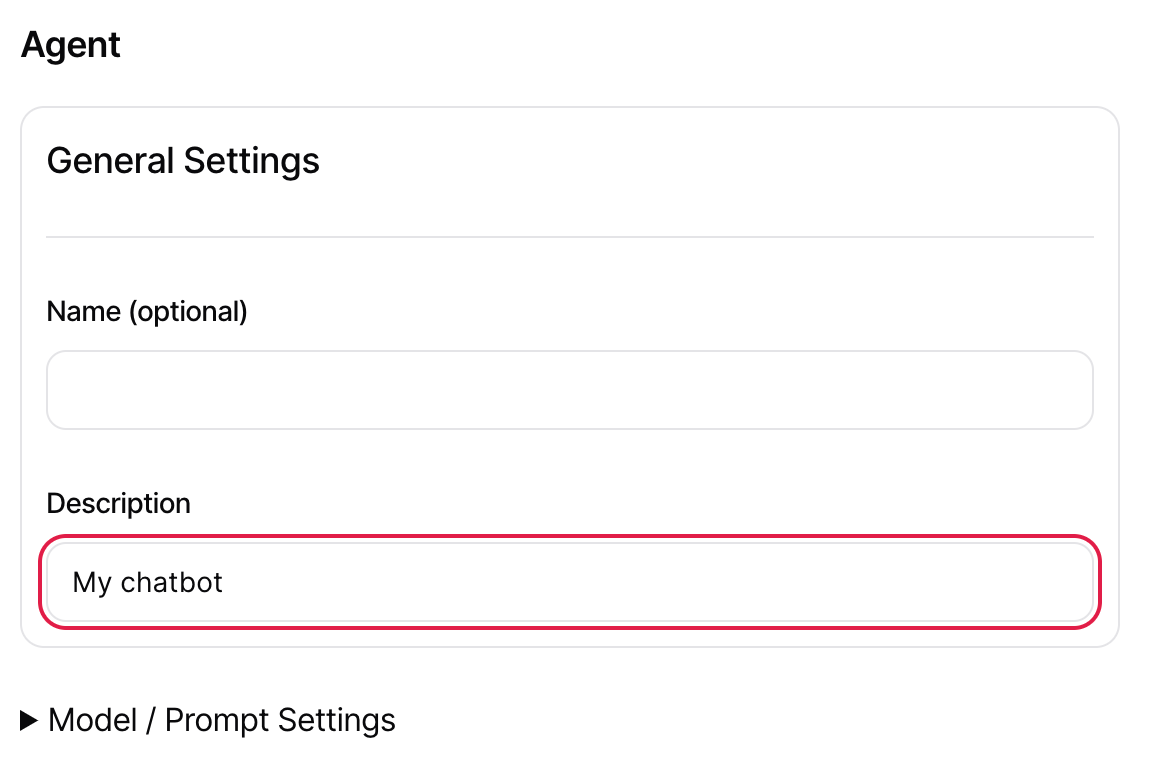
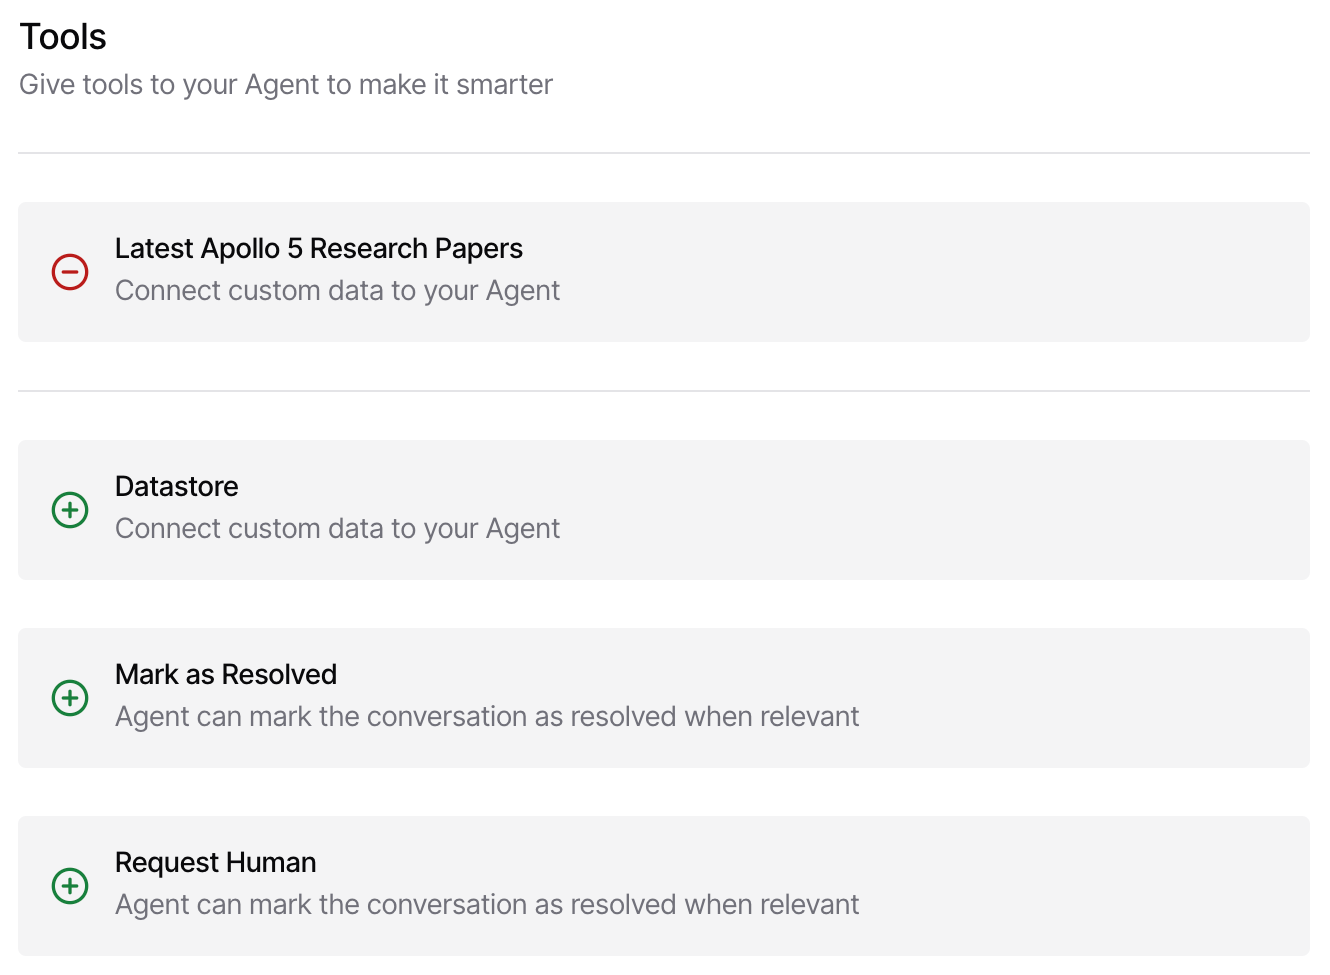
- Fill in the mandatory data and connect your database with your content and enable the tools so you can serve you better.
- When finished, click Save, you will be redirected to your chatbot.
- Tap the Chat tab at the top of the page to view your chatbot live.
- Enter a question to test your learning of the AI agent. You can ask any question you would normally ask ChatGPT or Google Bard.
Step 2: Setting up your chatbot
The agent we created in step 1 above in various fields as well as basic natural language processing skills allow us to answer questions correctly and conversationally. But we need to do some configuration. 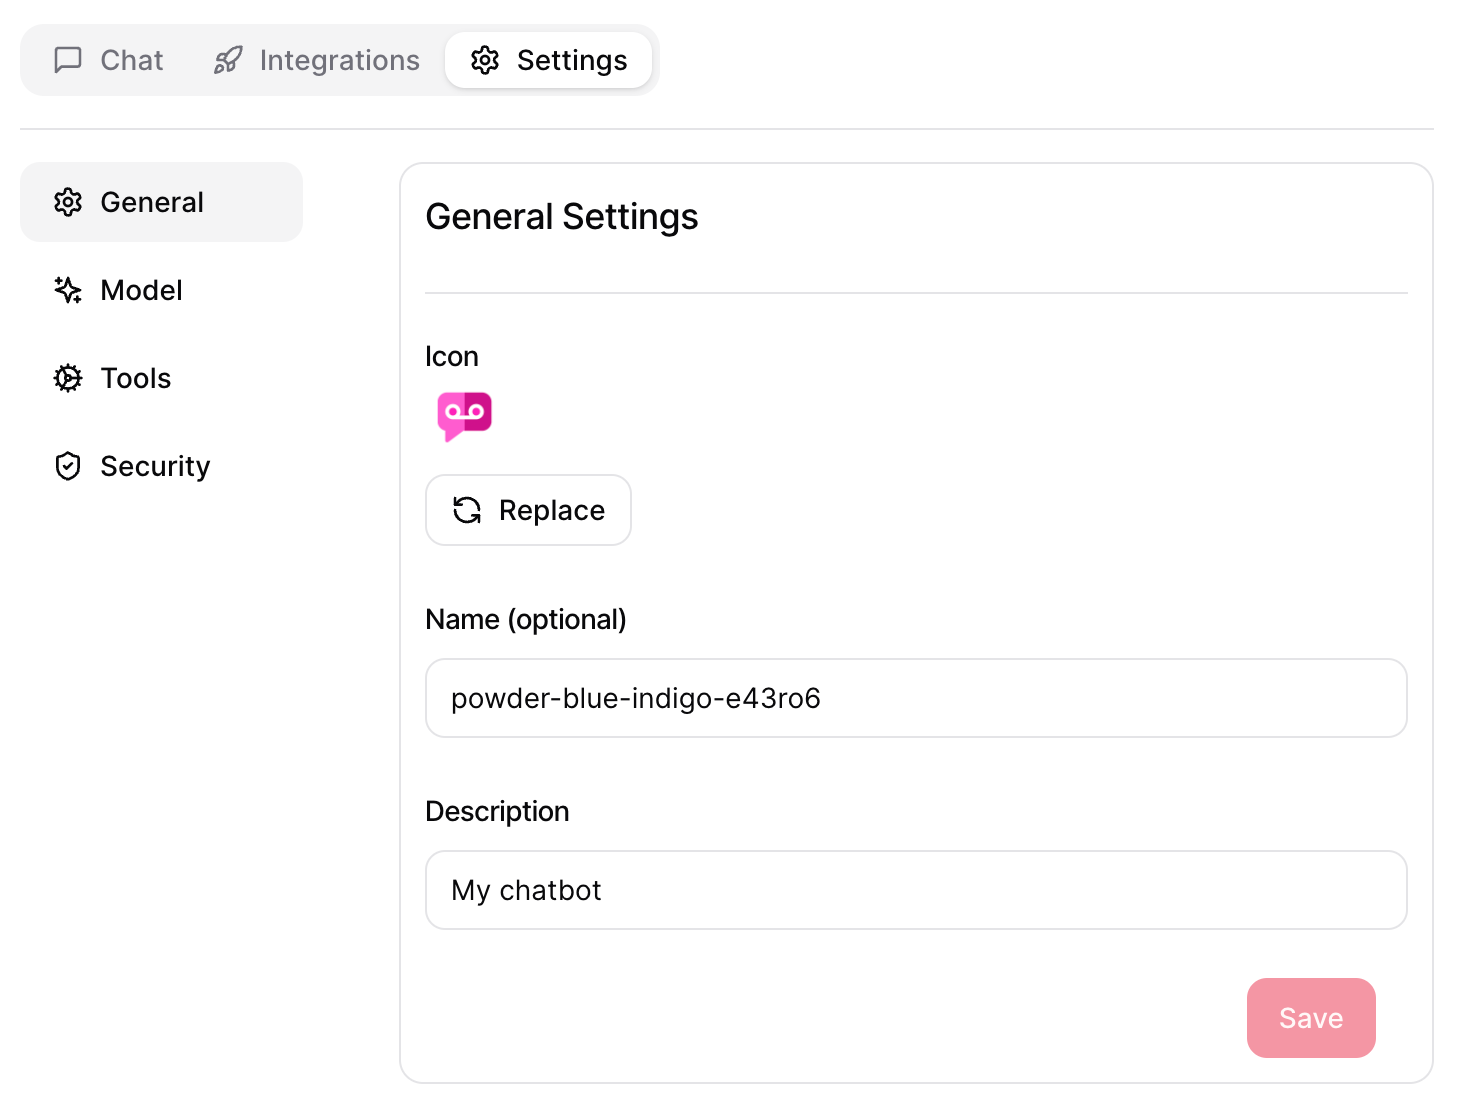
- On your agent page, click Settings at the top of the page to open the settings page.
- On the settings page, click Template in the left sidebar.
- Scroll down to the instructions field and provide a custom instruction that you want your agent to follow. Ideally, provide instructions on how you want your agent to behave. If you're not sure what to use, you can click the Prompt Template button to restore as per standard instructions.
- Scroll further down and change the default AI model from GPT 3.5-turbo to GPT-4. You can also adjust the agent temperature to adjust the creativity of the response using the slider.
- When finished, click Save, then click Integrations at the top of the page.
Step 3: Onboard your agent
Now it's time to prepare it for deployment. With Chats GO agents, you have several deployment options. You can deploy it to your website, Slack, Zapier, WhatsApp, and other channels.
- On the Integrations page, “Website (widget)” you can customize how you want the agent to apply to your website when deploying it. Carefully scroll through the options and adjust the default colors and messages to your taste. You should see a live preview of how the agent will appear on the right side of the page, you need to make it your public agent
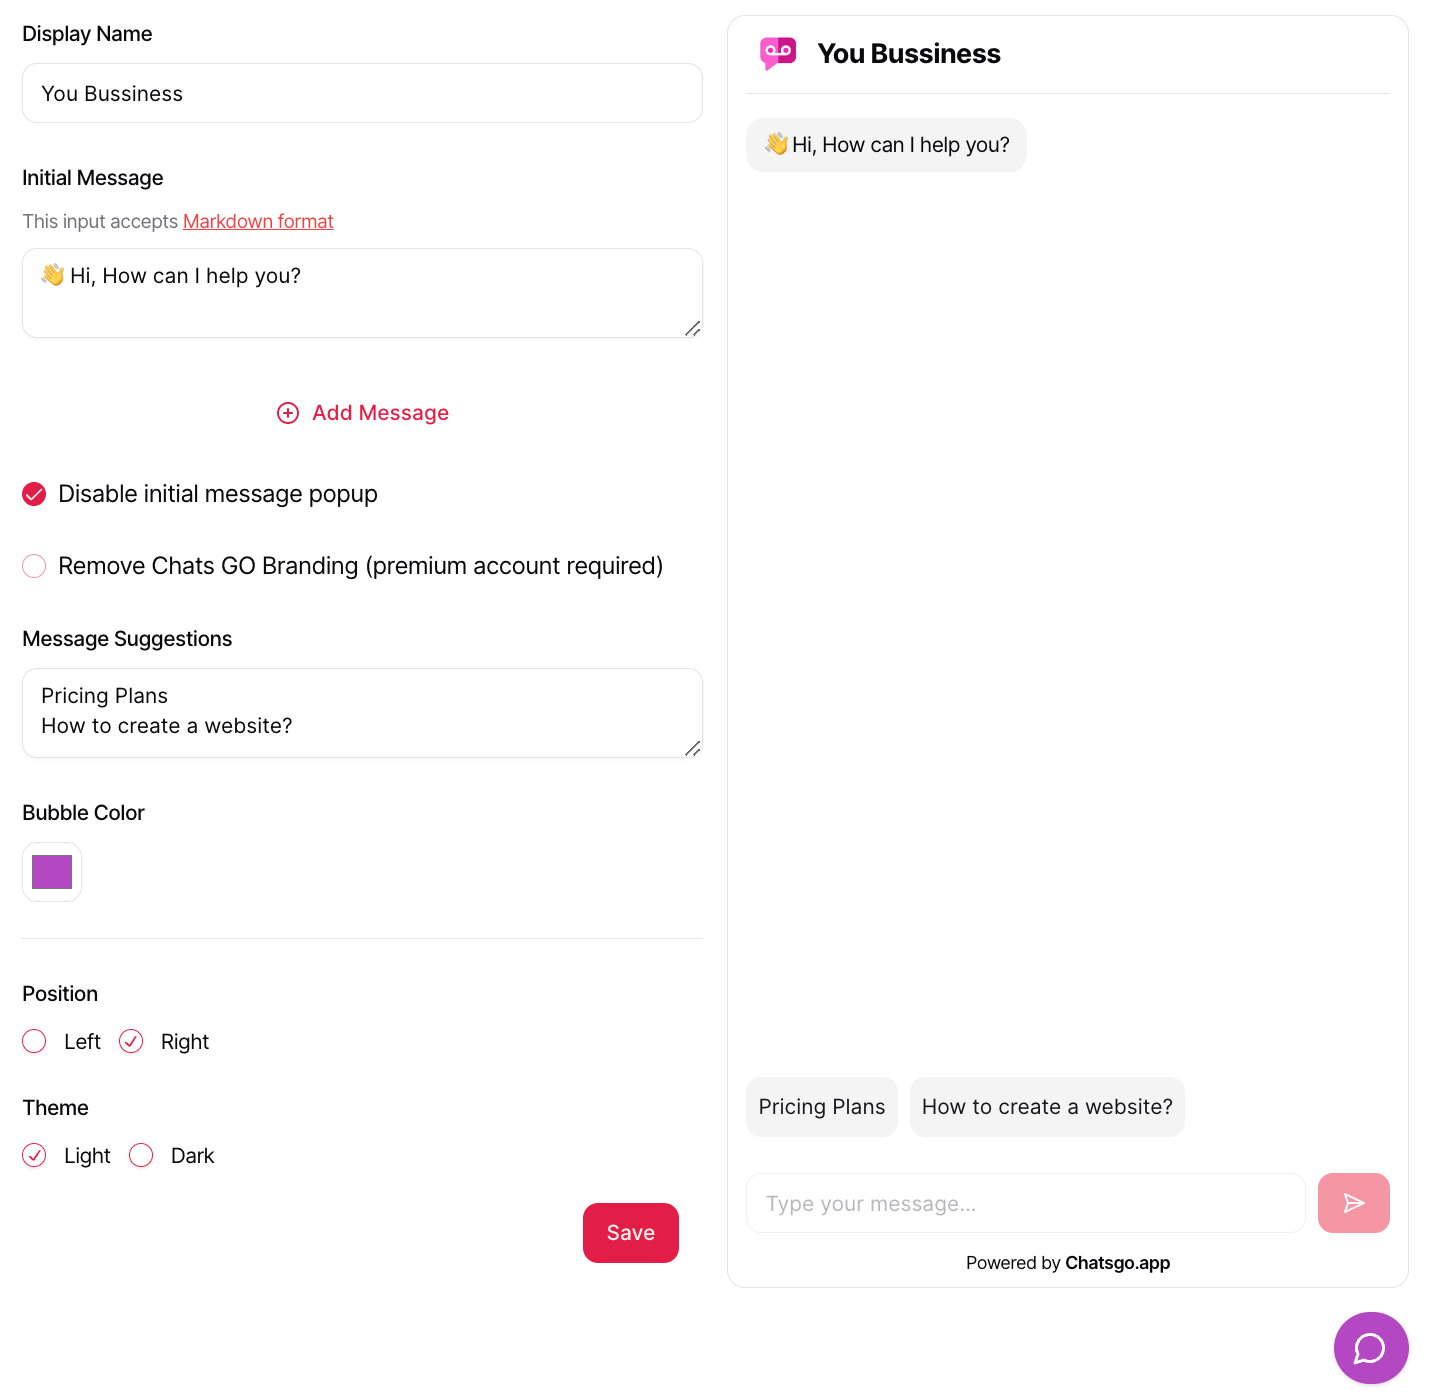
- Still on the Website page (widget), scroll down the page to see the code that will be incorporated into your website.

- You will receive a code snippet. This is the HTML/JavaScript code you need to insert into your website. Copy this code.
- Access your website's backend where you can edit the HTML code. This can be done through a content management system (CMS) like WordPress or by directly editing the website's HTML files.
- Find the section of your website where you want the applicable agent. Paste the copied code snippet into your website's HTML in the chosen location. If you have no knowledge of HTML or website structure, it may be advisable to ask a web developer for help.
- After pasting the code, save the changes and refresh your site to see the agent in action.
- Test the agent on your website to ensure it is working properly. Try asking the agent specific related questions to confirm they are responding accurately and efficiently.
If everything is working as expected, you have successfully deployed your AI agent. Now you are ready to assist your customers with their queries 24 hours a day, 7 days a week.